Hands on 2: a simple setup
Back to Agenda
In this first hands on you will learn:
- How to define materials
- How to define a very simple geometry
- How to use command line scoring to: record,store and display
simulation results
The code for this example can be found here, while the complete solution is here. Download the exercise code
and unpack it:
  $ cd <tutorial> #change <tutorial> to your working directory

  $ tar xzf HandsOn2.tar.gz #Or tar -xzf HandsOn2.tar.gz

  $ cd HandsOn2

  $ ls #Take a look at the files

  $ cd..
|
A directory HandsOn2 will be created containing the
code. Important: If you untar the solution tar-ball this will
overwrite the content of HandsOn2 deleting your code!
Follow the instructions of Hands On
1 to configure with cmake the example and build
it.
Hint: Remember the cmake comamnd line option:
-DGeant4_DIR= to specify where the Geant4
lib/Geant4-10.0.1 directory is located. The last argument
of cmake is the location of the source code, in our case: <tutorial>/HandsOn2.
Try out the application:
  $ cd <tutorial> #If needed, do NOT do the next in HandsOn2 directory (Where the code of the exercise is.

  $ source <where-G4-was-installed>/bin/geant4.[c]sh

  $ mkdir build-HandsOn2

  $ cd build-HandsOn2

  $ cmake -DGeant4_DIR=<where-G4-was-installed>/lib/Geant4-10.0.1
  <tutorial>/HandsOn2

  $ [g]make [-jN]

  $ ./SlacTut
|
Note: if you are using an IDE the output binary may be located
in a subirectory (for example with Xcode the binary is located under
[Debug|Releaase|RelWithDebInfo]).
The following should appear:
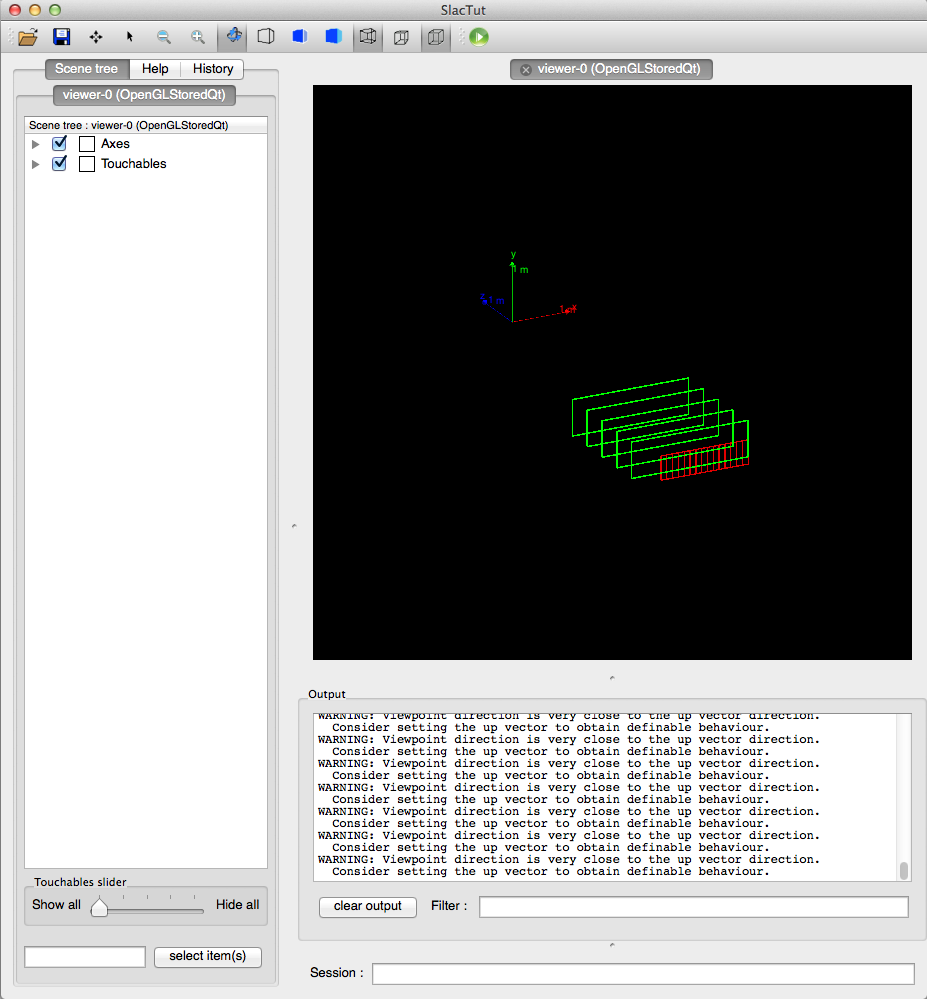
Familiarize with the application GUI (if enabled). In particular note
the menu with different actions. It is possible to execute UI commands
directly form the menu.
The default behavior of the application when started without command
line arguments is to start the GUI (if enabled) and execute the macro
init_vis.mac (init.mac if no support for
visualization has been enabled in G4).
If visualization is enabled and the UI session is graphical the
additional macro gui.mac is also executed.
You can start the application withotu graphics and execute directly
a macro file, passing to SlacTut a macro name, for
example: ./SlacTut run1.mac
Find out where in the code the default macros are executed (hint:
check the main function). How the default behavior is obtained?
What is the role of gui.mac macro? Check the syntax of
the commands in the application GUI (help panel), or type:
at the Geant4 prompt.
Modify the run1.mac macro file.
Modify some parameters of the simulation: number of events, the
particle type.
In this example, we have created a specific method DetectorConstruction::ConstructMaterials() where all materials
that are used in the application are built. Such method is not
mandatory, but it may help to organize your code. Throughout this
tutorial the exercises are clearly marked in the code itself: search
the commented lines:
  //============================

  // Exercise X.Y
|
Create a CsI (Cesium Iodide)
material starting from the elements.
Some properties:
- For Cs: A=55 Zeff=132.9*g/mol
- For I : A=53 , Zeff=126.9*g/mol
- Density of crystal of CsI is: rho=4.51*g/cm^3
Re-compile (no need to cmake again) and start again the
application. Observe Geant4 output, at the beginning of the
application the list of materials will be shown, starting from the
line The materials defined are : . At the end of
the method DetectorConstruction::ConstructMaterials()
there is a line that prints on screen the complete list of materials
defined. Note the paragraph relative to CsI and its properties.
The UI command: /material/g4/printMaterial [name|all] can
be issued at run time to print the material table.
Solution
| DetectorConstruction.cc File: |
  G4Element* el_i = new G4Element("Iodine","I", 53,126.9*g/mole);

     G4Element* el_cs = new G4Element("Cesium","Cs",55,132.9*g/mole);

     G4Material* mat_csi = new G4Material("CsI",4.51*g/cm3,2);

     mat_csi->AddElement(el_i,1);

     mat_csi->AddElement(el_cs,1);
|
Use NIST database to create Lead material.
Hint: You can use UI command
/material/nist/listMaterials to dump on screen the list
of all known Geant4-NIST
compounds. Search for the name relative to lead.
Build again the application and run it again. Note that now the list
of materials includes lead with all naturally abundant isotopes.
Solution
| DetectorConstruction.cc File: |
nistManager->FindOrBuildMaterial("G4_Pb");
|
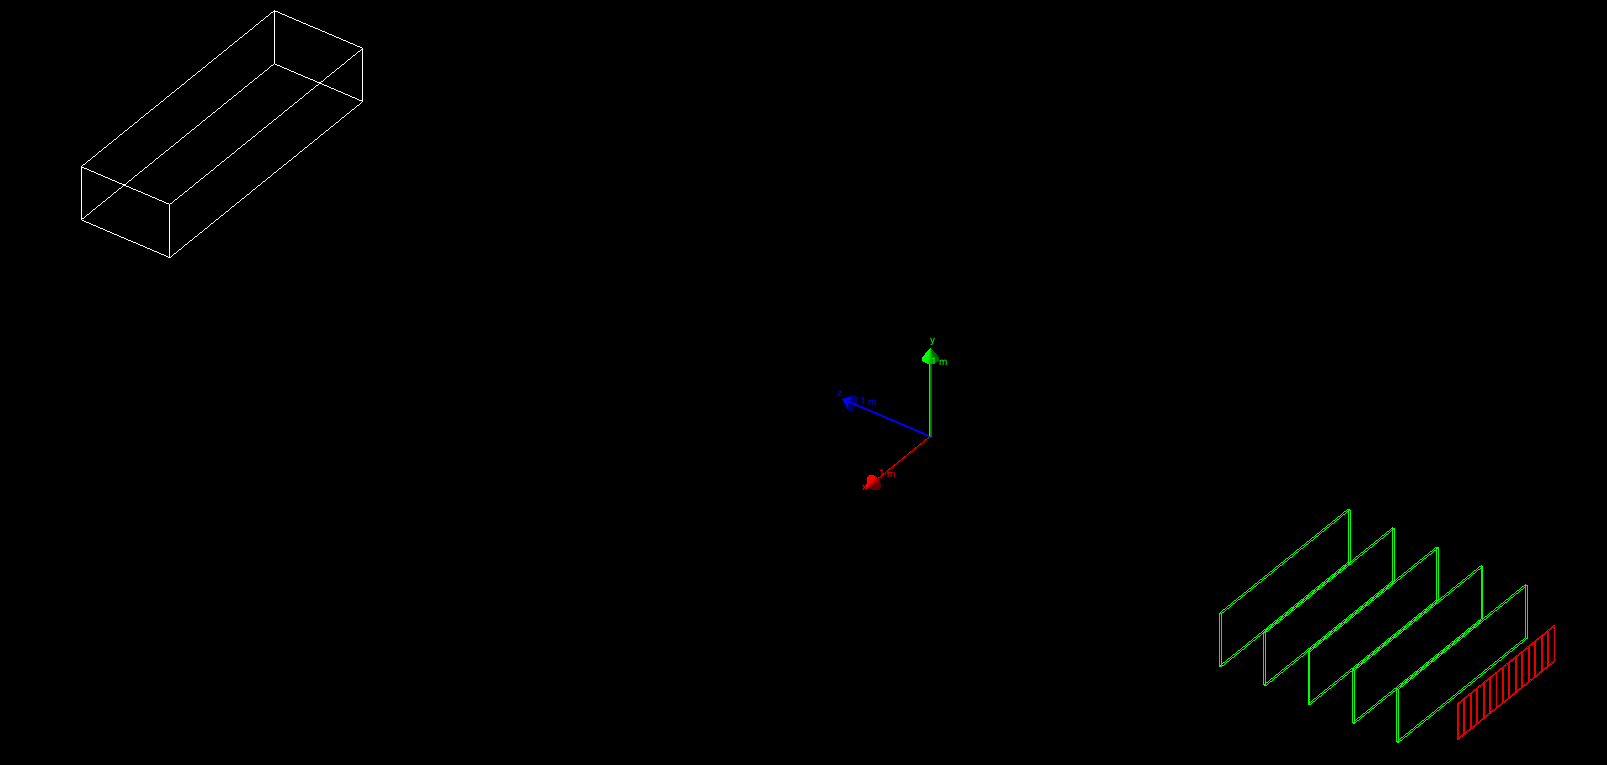
In this example we will create a very simple geometry. The goal of
this exercise is to show how to define a shape, a logical volume and a
simple placement.
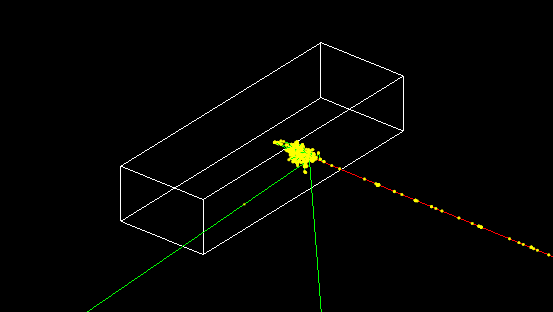
Add a box of to the setup.
The box has full dimensions (X times Y times Z): 300x60x100 cm,
select CsI as material. Place the box inside the logical volume
second arm. It should be placed at the very back of the mother
volume. At the end of the tutorials this simple box will become a
calorimeter.
Re-compile and check that you obtain the correct behavior:
Solution
| DetectorConstruction.cc File: |
  G4Material* material = G4Material::GetMaterial("CsI");

  G4VSolid* hadCalorimeterSolid = new G4Box("HadCalorimeterBox",1.5*m,30.*cm,50.*cm);

     G4LogicalVolume* hadCalorimeterLogical = new G4LogicalVolume(hadCalorimeterSolid,material,"HadCalorimeterLogical");

     new G4PVPlacement(0,G4ThreeVector(0.,0.,3.*m),hadCalorimeterLogical,"HadCalorimeterPhysical",secondArmLogical,false,0,checkOverlaps);
|
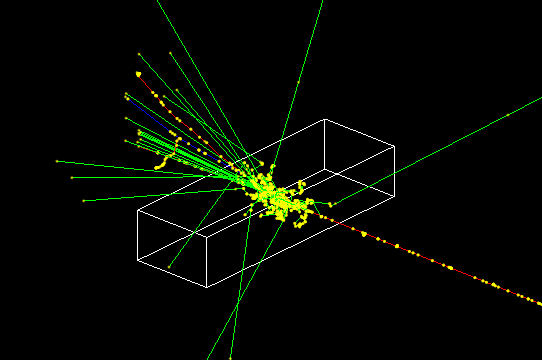
Change material of the box and observe effect on physics
simulation.
Modify the material of the box: instead of CsI, use the
scintillator. Simulate a single electron. Note how the material
affects the shower dimensions:
In this exercise we will collect simulation information using
command line scoring. A scoring mesh will be defined on top of the
volume created in Exercise 2.a, different quantities will be recorded,
and we will show how to display and store the scored quantities.
Enable command line scoring.
Instantiate a scoring manager in the main() function.
Solution
| tutorial.cc File: |
  // Activate UI-command base scorer

    G4ScoringManager * scManager = G4ScoringManager::GetScoringManager();

   scManager->SetVerboseLevel(1);
|
Score some quantities: energy deposit, number of steps of gammas
and use some filters.
Using UI commands create a box mesh that is placed on top of the
box you created. The mesh should have the same dimension as the box
and it has (X times Y times Z)
30x6x10 voxels. Score the following
quantities:
- Energy deposits
- Number of steps for gammas
- Number of steps for e-
- Number of steps for e+
Dump the scored quantities to files and verify the content.
Hint: use the help command to understand the
format of command line scoring UI commands.
Solution
The macro scoring.mac shows all the UI commands needed
in this exercise.be used directly to create
the output file:
Note: You can reduce the number of simulated events (default
2000) if the simulation takes too long.
| scoring.mac File: |
 /run/initialize

 ########################################

 #

 # define scoring mesh

 #

 /score/create/boxMesh boxMesh_1

 #

 #Create a mesh large as the box

 /score/mesh/boxSize 150. 30. 50. cm

 #Position it over the box

 /score/mesh/translate/xyz 0 0 8 m

 #mesh voxel size of 5cm

 /score/mesh/nBin 30 6 10

 #

 /score/quantity/energyDeposit eDep

 /score/quantity/nOfStep nOfStepGamma

 /score/filter/particle gammaFilter gamma

 /score/quantity/nOfStep nOfStepEMinus

 /score/filter/particle eMinusFilter e-

 /score/quantity/nOfStep nOfStepEPlus

 /score/filter/particle ePlusFilter e+

 #

 /score/close

 #

 /run/verbose 1

 /gun/particle e-

 /run/beamOn 2000

 ########################################

 #

 # Dump scores to a file

 #

 /score/dumpQuantityToFile boxMesh_1 nOfStepGamma nOfStepGamma.txt
|
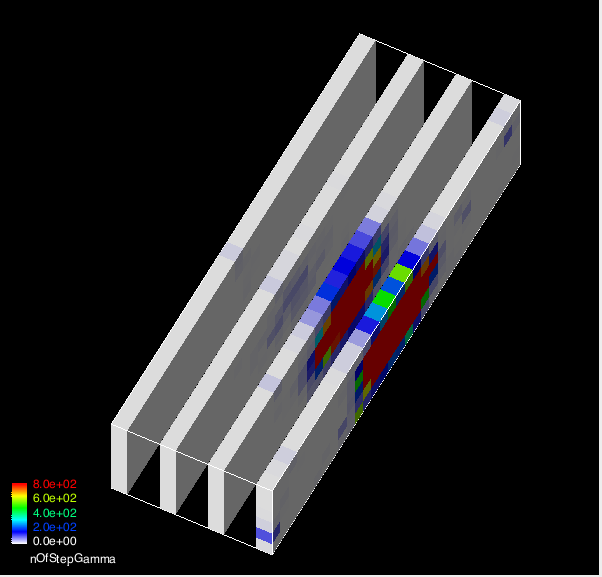
Visualize scored quantities.
Using UI commands draw on the screen different scored
quantities. For example the energy deposit looks like:

Solution
The macro file draw.mac shows how to draw scored
quantities, in also shows how to draw slices using loops in UI
commands.
This macro should be executed after
scoring.mac:
  $ ./SlacTut

  Idle> /control/execute scoring.mac

  Idle> /control/execute draw.mac
|
| draw.mac File: |
 ########################################

 #

 # drawing projections

 #

 /score/drawProjection boxMesh_1 eDep

 /score/drawProjection boxMesh_1 nOfStepGamma

 /score/drawProjection boxMesh_1 nOfStepEMinus

 /score/drawProjection boxMesh_1 nOfStepEPlus

 #

 ########################################

 #

 # drawing slices

 #

 /vis/scene/create

 /vis/sceneHandler/attach scene-1

 /score/colorMap/setMinMax ! 0. 800.

 /control/loop drawSlice.mac iColumn 0 10 3
|
Tutorial by:
Andrea Dotti (adotti AT slac DOT stanford DOT edu)
3 March 2014