Re-compile and check that you obtain the correct behavior:
$ cd <tutorial> #change to your working directory |
Follow the instructions of Hands On
1 to configure with cmake the example and build
it.
Try out the application:
$ cmake . |
Idle> prompt on your terminal screen.
Familiarize with the Geant4 UI.
ls, help and help <UI_command>.
Idle> /run/beamOn 10 |
Now run the application with a macro file as command line
argument:
$ ./SLACtut run1.mac
|
run1.mac, start the application again interactively and
using the help system check the syntax of the few commands used in the
macro file.HandsOn2 direcory do not work until you finish all the exercises.
| File name to be edited |
//============================ |
In this example, we have a specific method DetectorConstruction::ConstructMaterials() where all materials
that are used in the application are built. Such method is not
mandatory, but it may help to organize your code.
Create a CsI (Cesium Iodide)
material starting from the elements.
Some of its properties:
The materials defined are : . At the end of
the method DetectorConstruction::ConstructMaterials()
there is a line that prints on screen the complete list of defined materials.
Note the paragraph relative to CsI and its properties./material/g4/printMaterial CsI can
be issued at run-time to print the details of CsI. Check the other UI commands
available in the /material directory.
| DetectorConstruction.cc File: |
G4Element* el_i = new G4Element("Iodine","I", 53,126.9*g/mole);
|
Use NIST database to create Lead material.
Hint: You can use UI command
/material/nist/listMaterials to dump on screen the list
of all Gean4-NIST compounds"
materials.
Search for the name relative to lead.
Build again the application and run it again. Note that now the list
of materials includes lead element with all isotopes with natural abundances.
Hint: You can always use the command /material/g4/printMaterial <name> to print interactively the information on a specific material of your interest.
| DetectorConstruction.cc File: |
nistManager->FindOrBuildMaterial("G4_Pb");
|
Add a box of to the setup.
The box has full dimensions (X times Y times Z): 300x60x100 cm,
select CsI as material. Place the box inside the logical volume
second arm. It should be placed at the very back of this mother
volume. At the end of the tutorials this simple box will become a
calorimeter.
Re-compile and check that you obtain the correct behavior:
| DetectorConstruction.cc File: |
G4Material* material = G4Material::GetMaterial("CsI");
|
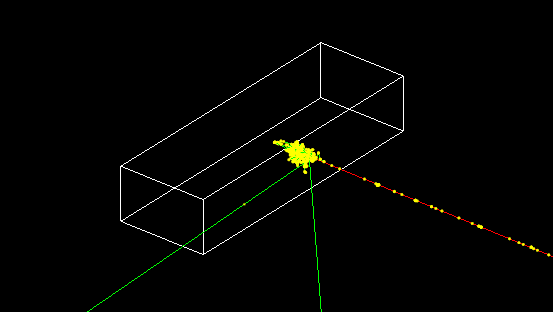
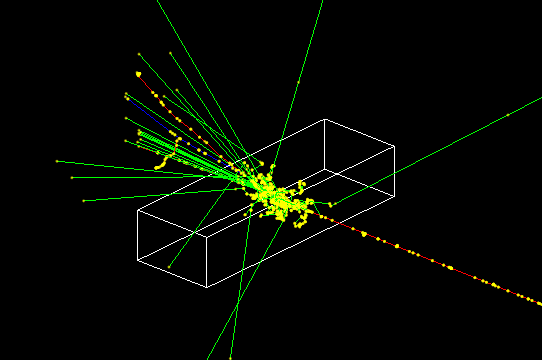
Change material of the box and observe effect on physics simulation.
Modify the material of the box: instead of CsI, use the
material scintillator. Simulate a single electron. Note how the material
affects the shower dimensions:
 |  |
ConstructMaterials method, it has
a long name becasue it is a particular type of plastic. You need just to retrieve it
by name when using it in the G4LogicalVolume.
Enable command line scoring.
Instantiate a scoring manager in the main() function.
| tutorial.cc File: |
// Activate UI-command base scorer
|
Score some quantities: energy deposit, number of steps.
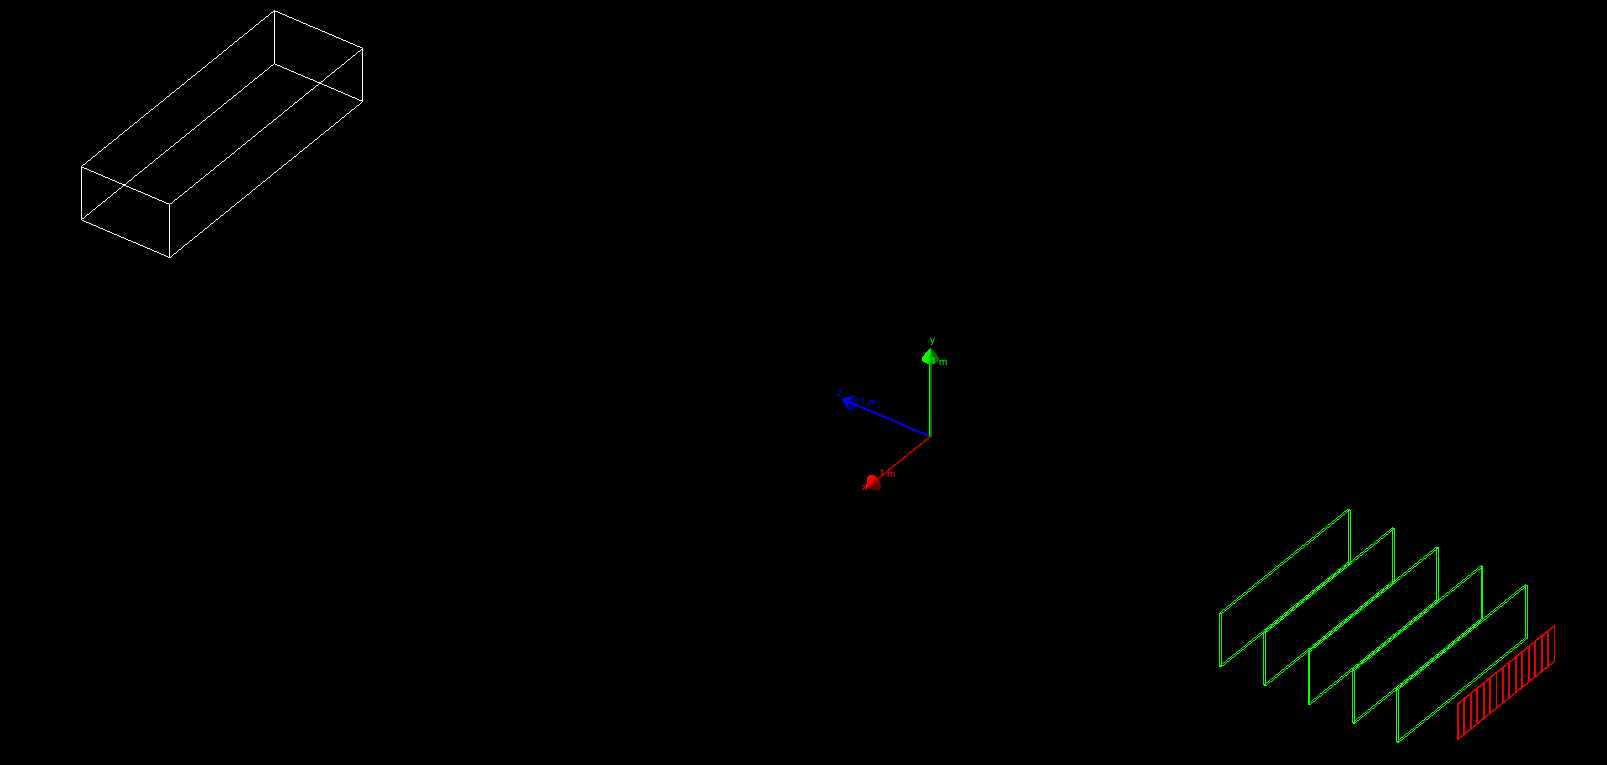
Using only UI commands create a scoring box mesh that is placed on top of the calorimeter box. The mesh should have the same dimension as the calorimeter and have (X times Y times Z) 30x6x10 voxels. Score the following quantities:
help command to understand the
format of command line scoring UI commands.
Starting from the content of the file scoring.mac reproduce in an
interactive session the various steps used to score the quantities. Some of
the UI commands used here depends on the UI commands used before.
For example the commands used to define a particle filter are used in combination
with the preceding command defining the quantity to score. The command
/score/close signals that all scoring volumes and associated quantities
are now completed and configured.
There are two separate concepts to grasp when scoring: one is the scoring mesh (e.g.
the shape, dimension and number of bins of the used 3D grid), the other is the
list of quantities measured in each cell of the grid.
You can have multiple quantities associated to a given
mesh, but you can also have multiple meshes in the same application even with
different geometries and possibily overlapping.
scoring.mac shows all the UI commands needed
in this exercise. It can be used directly to create
the output file:
$ ./SLACtut scoring.mac
|
| scoring.mac File: |
/run/initialize
|
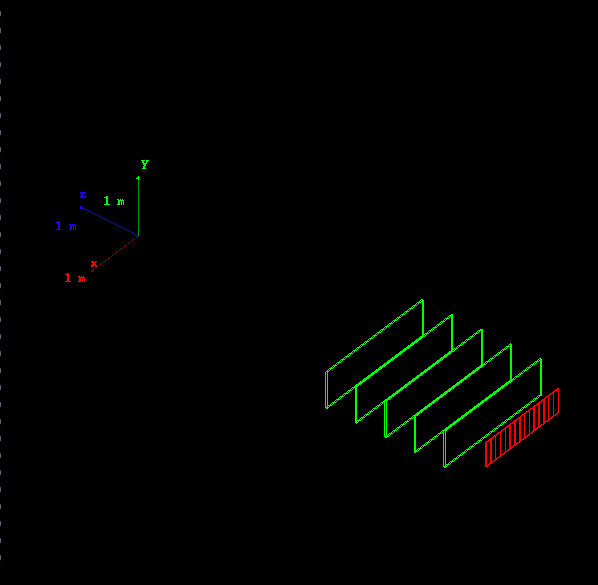
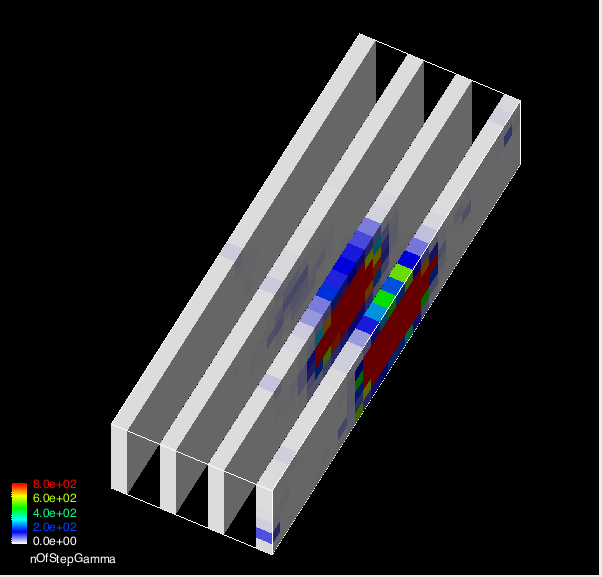
Visualize scored quantities.
Using UI commands draw on the screen different scored
quantities. For example the energy deposit looks like:

draw.mac shows how to draw scored
quantities, in also shows how to draw slices using loops in UI
commands.scoring.mac:
$ ./SLACtut
|
| draw.mac File: |
########################################
|
|  |